
Last updated November 22, 2026
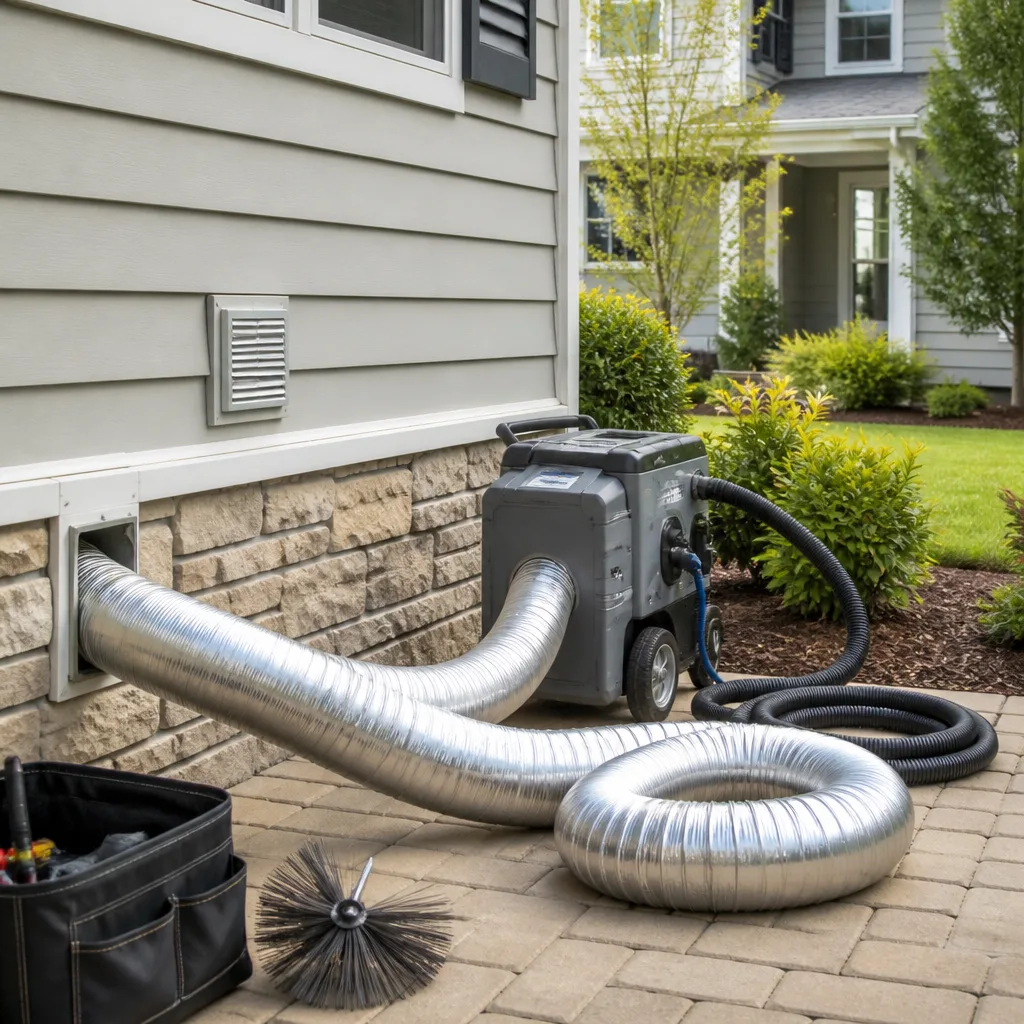 Whole-home duct cleaning
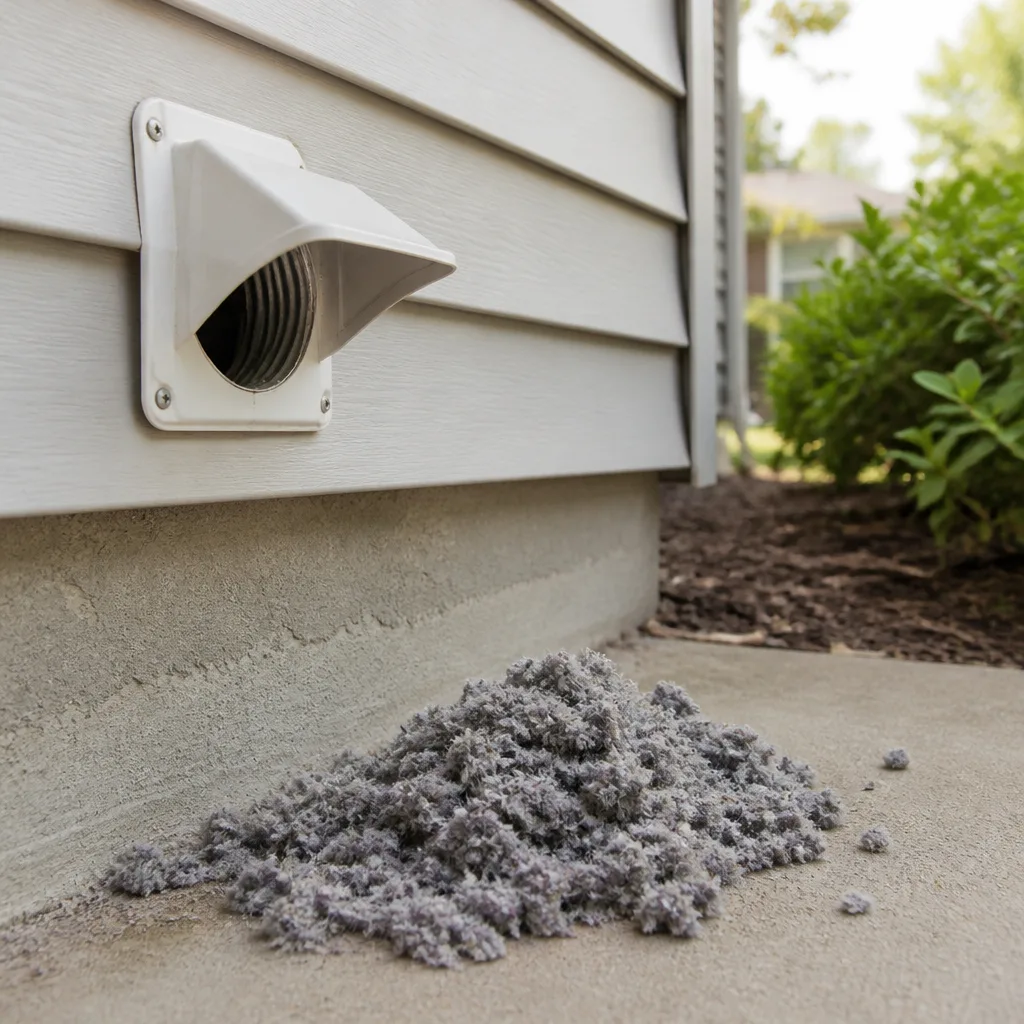 Dryer vent cleaning
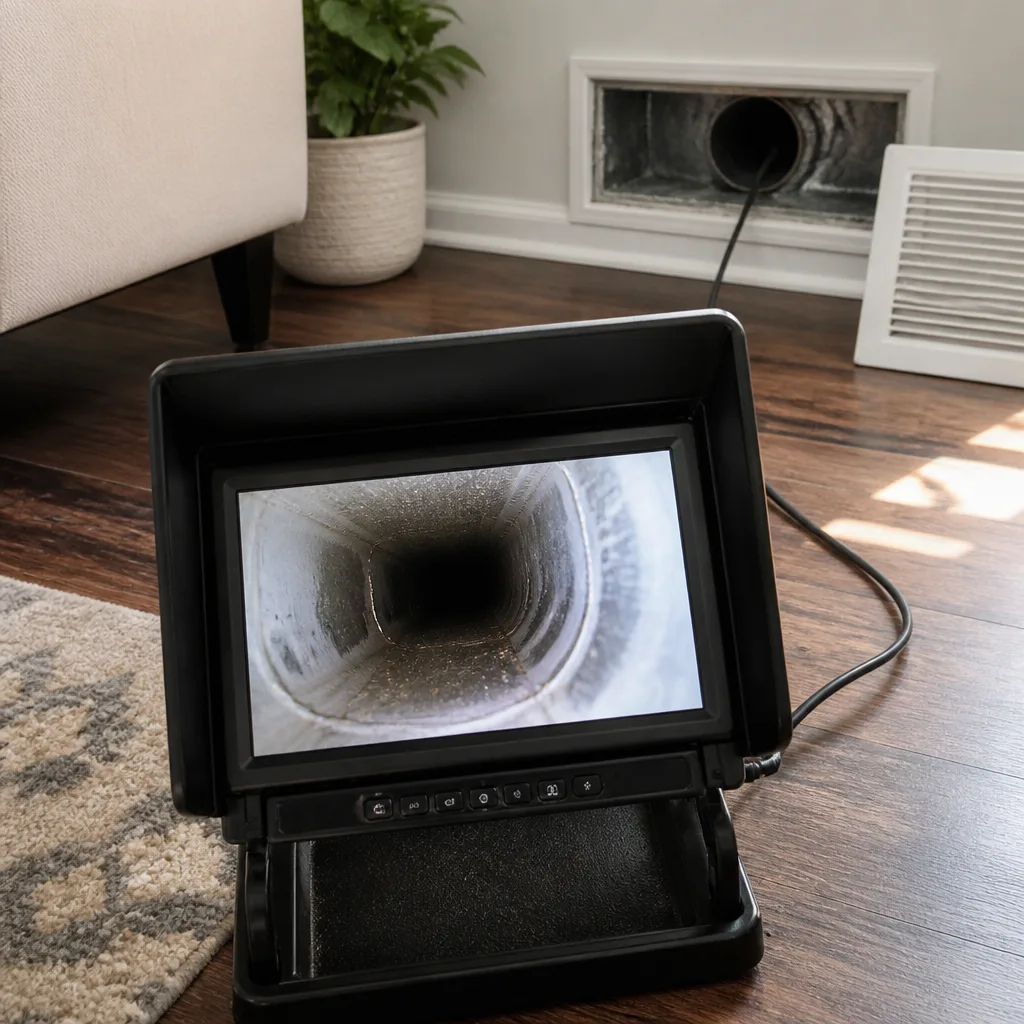 Camera inspection
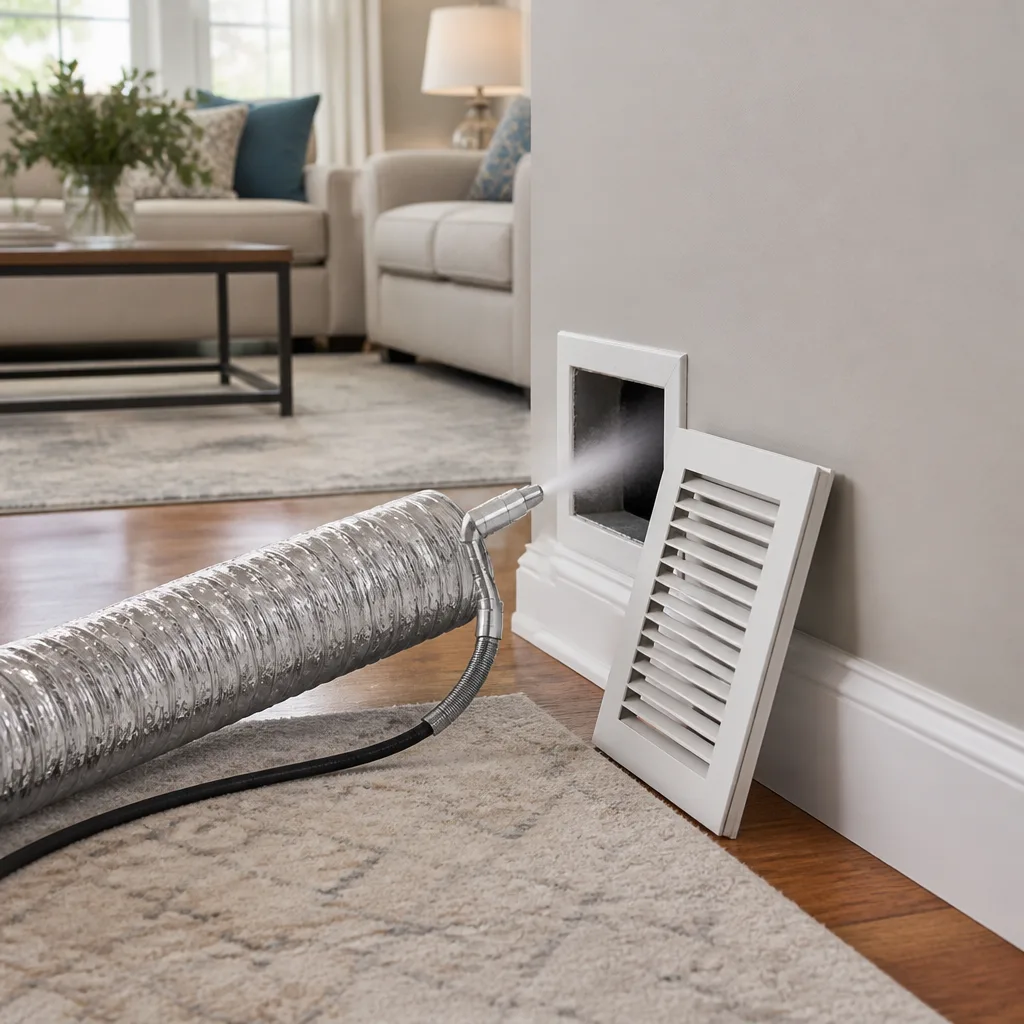 Sanitizing & deodorizing
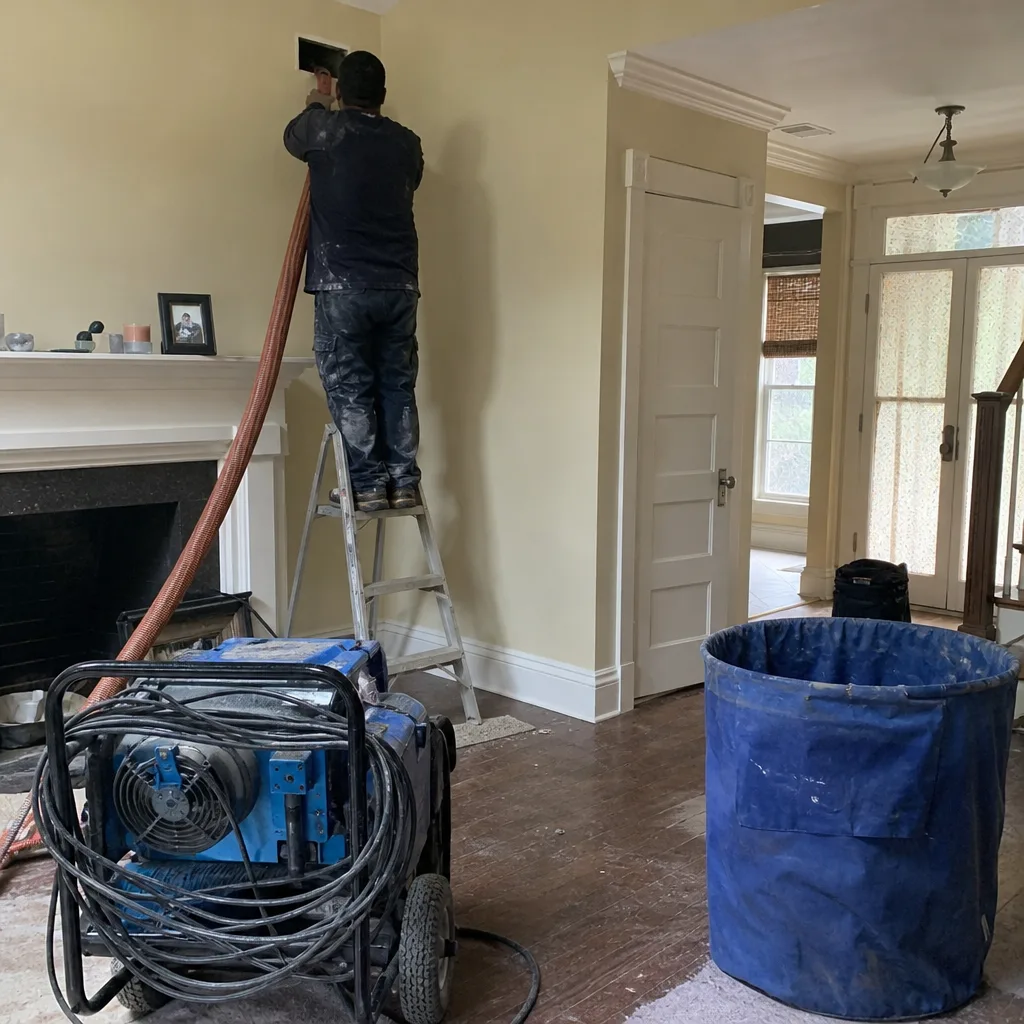
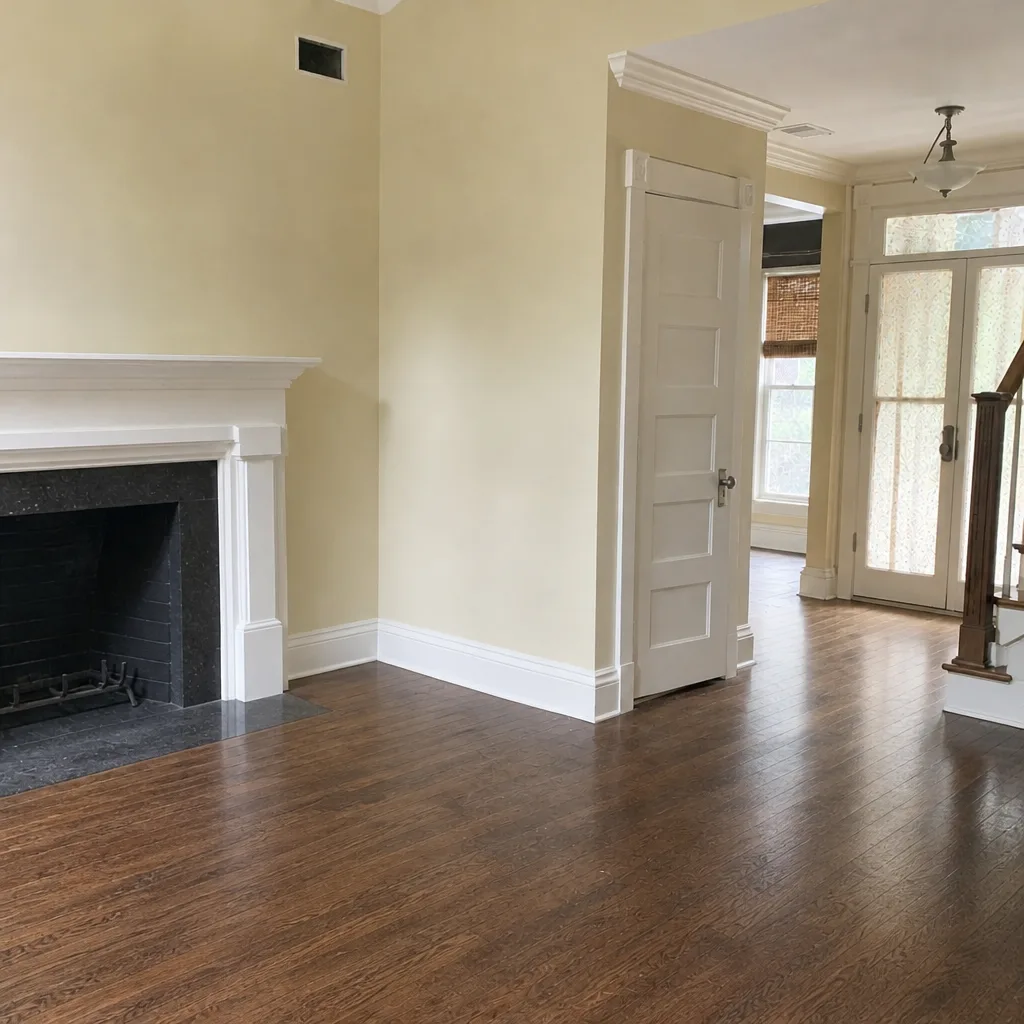
Whole-system duct and dryer vent check with before-and-after photos - you see exactly what came out of your vents
That "$99 whole-house special" is a bait ad - the real number appears once they are in your hallway, or the "clean" is a shop-vac at the register. We photograph the inside of your ducts before and after instead.
Air Duct Cleaning Troubleshooting in University City: Common Problems and How to Fix Them
If your house smelled musty three days after a duct cleaning, the cleaning probably didn’t fail. Your duct system likely has a breach, a moisture source, or a collapsed flex run that no amount of vacuuming will resolve. That’s the hard part most homeowners never hear: cleaning removes what’s sitting in the ducts, but it can’t fix what’s wrong with the ducts themselves. In this guide, we’ll walk you through how to tell the difference between a cleaning that missed something and a duct system that was never sound to begin with, using diagnostic steps you can run yourself in University City before you call anyone.
Quick Answer
Most post-cleaning complaints in University City, NC, trace back to one of three things: a duct integrity fault (leaks, disconnected joints, collapsed flex runs), a moisture source feeding mold upstream of the ducts, or an airflow balance problem at the air handler or return plenum. Re-cleaning rarely solves any of these. The fix is diagnosis first, then repair and sealing or moisture correction, and only then a clean.
Styles & brands we work with
- Whole-home duct cleaning
- Dryer vent cleaning
- Camera inspection
- Sanitizing & deodorizing
Table of Contents
- Cleaning Failure vs. Duct Integrity Problem: How to Tell Them Apart
- What to Check at the Air Handler and Return Plenum
- Why Odors Coming Back Within a Week Point Upstream
- How to Test Static Pressure and Airflow Balance Without Pro Equipment
- Dusty Vents After Cleaning: What’s Really Happening
- Moisture, Mold, and University City’s Humid Summers
- When a Finding Means Repair and Seal, Not a Re-Clean
- What a Professional Diagnostic Actually Looks At
Cleaning Failure vs. Duct Integrity Problem: How to Tell Them Apart
The first question to answer after a disappointing duct cleaning is simple: did the technician leave something behind, or was the system already broken? These two problems look similar from the living room. They’re very different underneath.
A cleaning failure leaves debris, dust, or allergens in the ducts that should have come out. A duct integrity problem means the ducts themselves aren’t containing air the way they’re supposed to. Air escapes through gaps, joints, and seams. Contaminants enter through the same openings. No vacuum can fix that because the problem isn’t what’s inside the duct. It’s the duct.
Here are the signals that point to each:
- Signs of a cleaning failure: Visible dust still clinging to register faces and grilles immediately after service; debris visible inside supply boots when you remove a register; a crew that used a shop-vac rather than truck-mounted or professional-grade equipment; no before-and-after photos of your own ducts.
- Signs of an integrity problem: Airflow that’s strong at some vents and weak at others; whistling or hissing at joints; rooms that stay warm or cool regardless of the thermostat; musty smells that return within days; dust settling on horizontal surfaces faster than it did before the cleaning; higher energy bills with no other change.
If your vents are dusty at every register the day after service, that’s a cleaning issue. If two vents in the back bedroom are weak and one in the hall whistles, that’s a duct integrity issue wearing a cleaning failure’s costume. In University City, where many homes were built with flex duct running through attic spaces that get genuinely hot in summer, integrity problems are common and easy to miss during a basic cleaning visit.
Here’s the step that saves the most time and money:
- Do a walk-through of every supply and return register in the house, one at a time, with the system running.
- Note airflow strength at each register (weak, normal, strong).
- Note any noise (whistle, rattle, hiss) at each register or at the air handler door.
- Look for visible dust accumulation at the register face and, if you can safely reach it, just inside the boot.
- Compare rooms with weak airflow against duct routing through attics, crawlspaces, or garages.
If you find a consistent pattern (a whole zone weak, a whole branch noisy), you’re almost certainly looking at an integrity problem. If you find dust everywhere but consistent airflow, you’re looking at a cleaning issue.
What to Check at the Air Handler and Return Plenum
The air handler and return plenum are where a lot of duct problems silently live. They’re also where homeowners rarely look, which is why a “cleaning” that never touched them will look complete from the register side.
Start with the return plenum: the box or transition where return air enters the air handler. This is the most common place for a disconnected joint in residential systems, because it’s often taped rather than mechanically fastened. Tape fails. Panels gap. Air drafts are the giveaway.
Here’s a safe walk-through of what to check:
- Filter condition and fit. A filter that’s dirty, the wrong size, or sitting loosely in its frame lets unfiltered air into the coil and blower. Unfiltered air means dust travels downstream and lands in the supply trunks within days. That can look exactly like a failed cleaning.
- Filter slot sealing. Many air handlers have a filter slot that lets air bypass the filter entirely if the filter isn’t seated flush. Check that your filter sits square in the track with no gap at the edges.
- Return plenum joints. Look for visible gaps at panel seams, taped joints, and where the plenum meets the air handler cabinet. Gentle draft test with your hand (system running) will show gaps quickly.
- Condensate drain and pan. Standing water in the drain pan or a wet cabinet panel points to a moisture source feeding the ducts. This is the single most common upstream cause of returning odors we see.
- Blower door and access panel fit. If the blower access door is loose or the gasket is worn, you lose pressure and pull in unconditioned air from the mechanical space.
- Inefficient or missing filter grilles. Return filter grilles sometimes have gaps around the frame that allow air to bypass the filter. Small gap, big dust problem.
None of this requires disassembling anything. Look, listen, feel for drafts. If you find a gap at the return plenum, or feel obvious suction at a joint that should be sealed, you’ve got enough to know that the next call shouldn’t be another cleaning. It should be an inspection that includes the plenum and air handler seals. Our HVAC cleaning service covers the air handler and cabinet, not just the ducts, which is where these upstream problems show up first.
Why Odors Coming Back Within a Week Point Upstream
Odors that return within days of a cleaning are almost never a sign of a missed spot in the duct. They’re a sign of a moisture source, a mold problem upstream of the ducts, or contamination that lives somewhere the cleaning equipment didn’t reach.
That last point is the one homeowners miss. A duct cleaning removes debris from inside the duct runs and registers. It does not treat the evaporator coil, the condensate pan, the drain line, or the return-side surfaces inside the air handler cabinet. Those components are humid for months out of the year in University City, and the evaporator coil in particular holds a biofilm layer if it hasn’t been cleaned. A musty smell that comes back within a week of service is telling you exactly that: the source is upstream of the ducts.
Here’s how to test the source yourself:
- Smell at the return grille first. If the smell is strongest at the return grille or at the air handler door, the source is upstream (coil, pan, cabinet).
- Smell at individual supply registers. If a specific supply register smells worse than the rest, the source may be local to that branch (a wet boot, a condensate drip, an insulated flex run that’s gotten wet).
- Run the fan in “on” mode with the AC off. If the smell strengthens with the fan on but no cooling, the source is airflow-path related, not coil condensation.
- Check for visible moisture. If you can safely open the air handler access panel (with power off), look for standing water in the pan, wet insulation, or visible growth on the coil or cabinet walls. If you’re not comfortable opening the cabinet, leave it to a technician.
Mold growth in the air handler and coil area needs professional treatment, not just cleaning. Our air quality and sanitizing service addresses that upstream contamination alongside the duct cleaning, which is the reason it belongs in one appointment rather than two. And if the underlying issue is a persistent drip or a pan that won’t drain, the fix is a mechanical one for your HVAC contractor, not for a duct cleaning crew.
How to Test Static Pressure and Airflow Balance Without Pro Equipment
You can’t measure static pressure in inches of water column without a manometer. But you can learn a lot about whether airflow is balanced using a few simple checks that don’t require specialized equipment. In fact, the pattern those checks reveal is enough to tell a technician where to look before they walk in the door.
Here’s the practical sequence:
- Trash bag test at supply registers. Hold a light plastic bag (or a strip of tissue) at each supply register with the system running. The bag should fill and flutter consistently. A weak, barely moving supply register is a flow problem on that branch.
- Door-under draft test. With the system running and interior doors closed, feel the gap under each door. A strong draft from under a closed bedroom door tells you the room is starving for return air, which creates pressure imbalance and forces leaks elsewhere in the system.
- Return grille suction test. Hold tissue at each return grille. All returns should pull with roughly equal force. A weak return becomes the bottleneck for every supply branch fed by that zone.
- Register temperature comparison. With the AC running steady for 15 minutes, feel the air at each supply. Wildly uneven temperatures (several degrees) between rooms point to a distribution problem, not a cooling capacity problem.
- Total register count sanity check. Count supply registers and returns. A healthy balance is roughly one return for every three to five supplies in a residential system. Big imbalance (many supplies, one small return) is a common cause of static pressure problems that no cleaning can fix.
What you’re really testing is whether the system delivers air evenly. If it doesn’t, and it didn’t before the cleaning, cleaning wasn’t the problem. If it did before, and doesn’t now, that’s worth a call. Duct repair and sealing is a service our crew performs precisely because it’s the fix for this category of finding, and because a lot of cleaning-only companies leave it alone.
Dusty Vents After Cleaning: What’s Really Happening
Dusty vents appearing within a few days of a duct cleaning almost always mean one of two things: the duct cleaning didn’t reach the boot, or dust is being pulled through a leak or an unsealed filter slot. In both cases, the appearance is the symptom, not the diagnosis.
Here’s how to sort out which one you’re looking at:
- Dust on ALL register faces evenly? That points to a cleaning reach issue at the boots or a filter bypass feeding dust into every supply run. A return filter grille that doesn’t seal, or an undersized filter, is the usual culprit.
- Dust on TWO or THREE registers, others clean? That points to a specific branch getting dust from a nearby leak, a disconnected flex joint, or attic-side contamination pulled into that branch.
- Dust only on the horizontal surfaces below the register, not on the register itself? That’s often dust falling from ambient air (recent renovation, new furniture, seasonal pollen) not from the duct. Common in spring in University City when pollen levels climb fast.
- Dust only on the return grille? That’s a filter issue, not a duct issue. The return grille is doing its job catching what the filter doesn’t.
One detail that separates a good cleaning from a great one is whether the boots (the short elbows behind the register) were actually reached. Dust accumulates there even in a well-serviced system, because the boot is often the hardest part of the run to reach with a hose. Professional-grade equipment matters here. Rotobrush and Nikro systems are built to reach surfaces a shop-vac setup can’t, which is one reason we run them on every job.
Moisture, Mold, and University City’s Humid Summers
University City’s climate puts real stress on residential HVAC systems, and that matters for duct troubleshooting because moisture is the upstream cause of most mold, odor, and dust-clumping complaints. Summers here are long and humid, and the differential between an air-conditioned interior and a 150-degree attic creates condensation on duct surfaces that aren’t properly insulated or sealed.
Where moisture shows up in a duct system:
- Wet insulation on flex duct in the attic. Flex runs in an attic get cold on the inside, hot on the outside, and any gap in the vapor jacket lets condensation build inside the insulation.
- Condensate pan overflow. A slow clog in the condensate drain line backs water into the pan, and the air handler next to it breathes humid air.
- Evaporator coil biofilm. The coil stays wet during cooling season. If the filter isn’t catching enough dust, it becomes a food source for biological growth.
- Duct boots in unconditioned space. Boots running through a garage ceiling or an exterior wall cavity are prone to condensation if they’re not insulated and sealed.
- Leaky return plenum pulling attic air. Attic air in summer carries moisture, insulation fibers, and whatever’s settled up there. A leaky return pulls it into the living space.
If you find moisture, the fix is rarely a cleaning. It’s sealing, insulation repair, condensate drain service, and in the worst cases duct replacement for the affected run. Cleaning a wet duct without fixing the moisture source is like mopping a floor with the faucet still running.
Once the moisture problem is corrected, treatment can help. We work with Guardsman products for sanitizing applications, and with whole-home air quality equipment from Honeywell and Aprilaire when the right solution is filtration or humidity control rather than a one-time treatment. If your complaint keeps coming back, the question isn’t “should I clean again?” It’s “what’s feeding the problem?”
When a Finding Means Repair and Seal, Not a Re-Clean
This is the section most guide articles skip. Clean vs. repair isn’t a philosophical choice. Specific findings point to specific fixes. Here’s how to categorize them.
Re-cleanings are warranted when:
- The cleaning was visibly incomplete (register faces still dusty, debris visible inside boots immediately after service, no before-and-after photos provided).
- You used a technician whose equipment can’t reach past the register (consumer-grade shop-vac, no rotary agitation).
- The complaint is confined to surfaces a second clean would actually touch, with no repeating pattern and no smells.
Repair and sealing is warranted when:
- You can feel air escaping at duct joints, plenum seams, or flex connections.
- Airflow is uneven by room and was already uneven before the cleaning.
- Musty odors return within a week and smell strongest at the return plenum or air handler.
- You find moisture, wet insulation, or visible growth in the air handler cabinet, pan, or a specific duct run.
- You find a collapsed or disconnected flex run in the attic.
- The system is pulling air from the attic, garage, or crawlspace because of a leak in the return side.
If more than one of the repair-side items is true, cleaning alone is unlikely to satisfy you, and the right call is a diagnostic inspection. Once breaches are sealed, the same cleaning visit produces a different result because the system can hold the airflow the cleaning is supposed to protect. Our air duct cleaning and duct repair and sealing services are designed to run together for exactly this reason, since the fix works best when both happen in the right order.
What a Professional Diagnostic Actually Looks At
A proper diagnostic on a University City home doesn’t start with a vacuum. It starts with a walk-through, and the walk-through has a defined checklist. Knowing the checklist helps you know when you’re getting one.
- Register-by-register airflow mapping. Every supply and return is checked for flow, temperature, and noise.
- Air handler inspection. Filter fit, blower condition, coil cleanliness (visual), condensate pan and drain status, cabinet door fit, and internal cabinet surfaces.
- Return plenum evaluation. Joint integrity, tape condition, draft detection under system pressure.
- Accessible duct run inspection. Attic, crawlspace, and garage runs are checked for insulation condition, flex joint connections, and visible moisture.
- Static pressure reading. A manometer reading at the air handler confirms whether the system is running under healthy pressure (roughly 0.5 inches water column on the supply side, and comparable on return, is the general range most residential systems are designed for; exact targets are set by your system’s design).
- Photo documentation. A real diagnostic produces before-and-after photos of your own system, not stock images. If a provider can’t show you your own ducts, ask why.
Once the diagnostic is done, the fix falls into one of three buckets: repair and seal (integrity findings), sanitize and correct moisture (biological findings), or clean (contamination-only findings). Sometimes it’s more than one. A single appointment can cover the whole pathway from return grille to supply register, including the air handler, which is why a company that only cleans ducts misses half the diagnosis. For older homes in University City where dryer vents run long distances from the laundry to an exterior wall, the same visit usually warrants a look at the dryer run too. Our dryer vent cleaning service uses the same professional equipment and catches lint buildup that’s a separate fire safety issue entirely.
Common Mistakes to Avoid
- Re-cleaning before diagnosing. A second cleaning on an unsealed system produces the same complaint. Diagnose first, clean second, and only if cleaning is the actual fix.
- Assuming a return-plenum leak is “just a draft.” In University City’s humid summers, a leaky return pulls attic air into the living space with it. What looks like a draft is a moisture and contamination pathway.
- Accepting stock photos as proof of work. Before-and-after photos of your own system are the only documentation that means anything. If a provider can’t show them, they didn’t take them.
- Skipping the air handler. Duct cleaning without air handler and coil inspection leaves the most common source of returning odors unaddressed.
- Ignoring the filter. The cheapest fix in every HVAC system is a filter that’s the right size, the right MERV rating for your system, and seated flush in its slot. A wrong filter makes a good cleaning look like a bad one within days.
- Treating dryer vent cleaning as optional. Long, unserviced dryer runs are a known cause of residential fires. In homes where the run goes through an attic or up an exterior wall, an inspection on the same visit costs no extra time.
- Hiring based on a coupon price. If the quoted price is dramatically below the range other providers are giving, ask what it covers. A “cleaning” at coupon pricing often covers one trunk and no boots, which is why the dust comes back.
See the difference
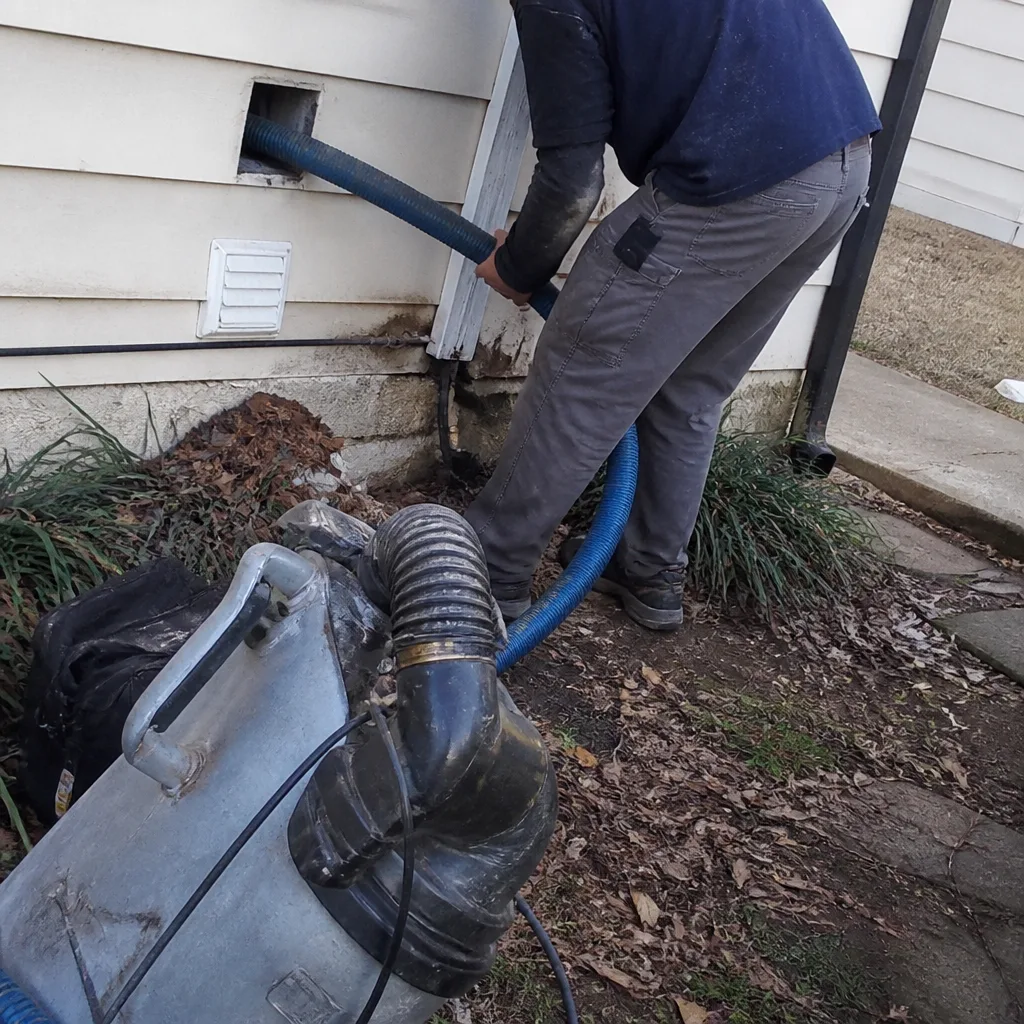 Before
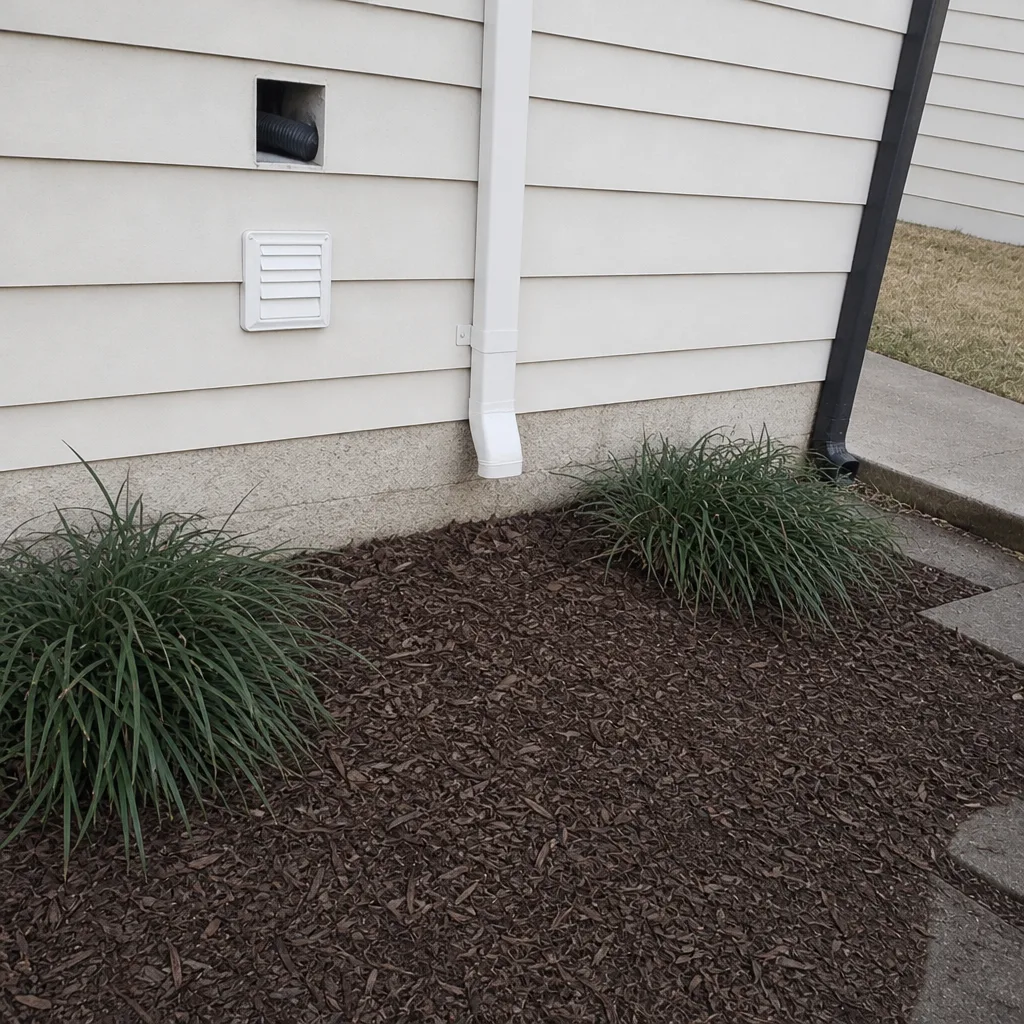 After
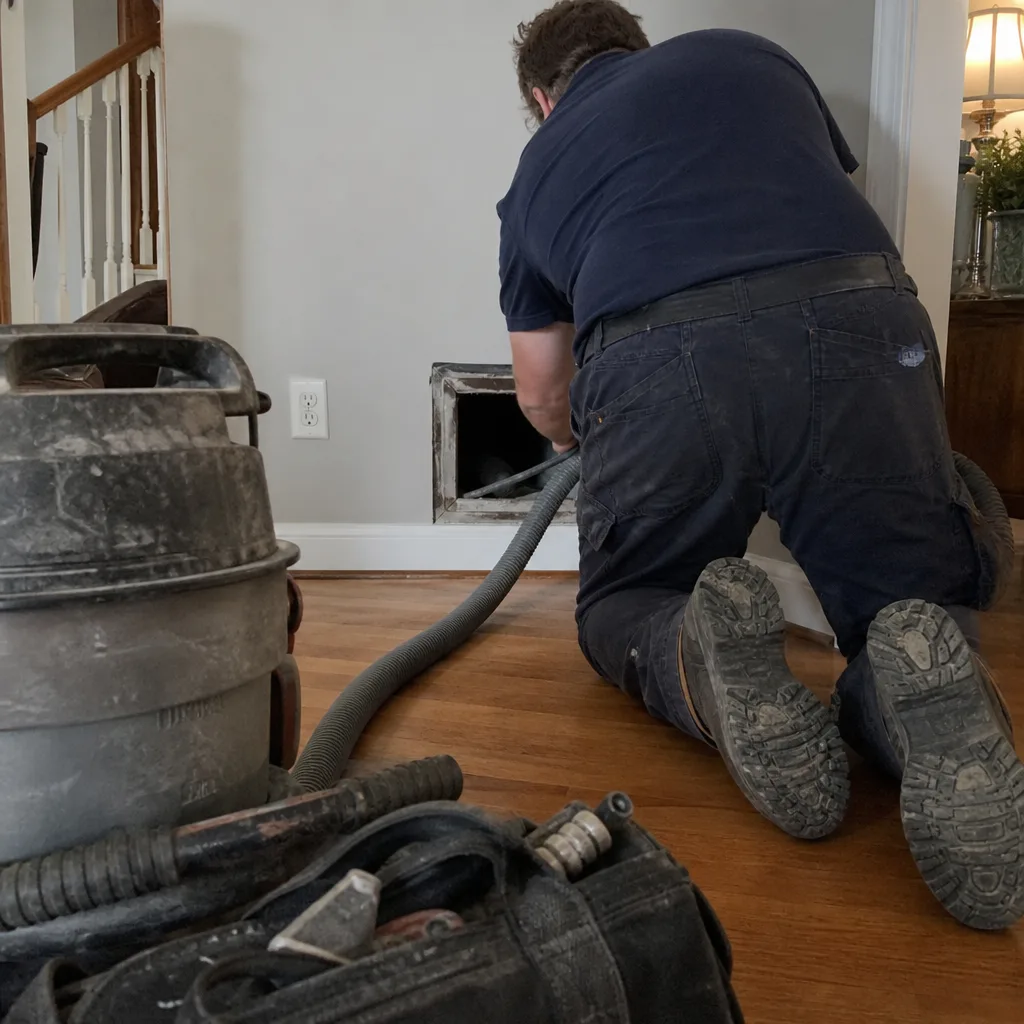 Before
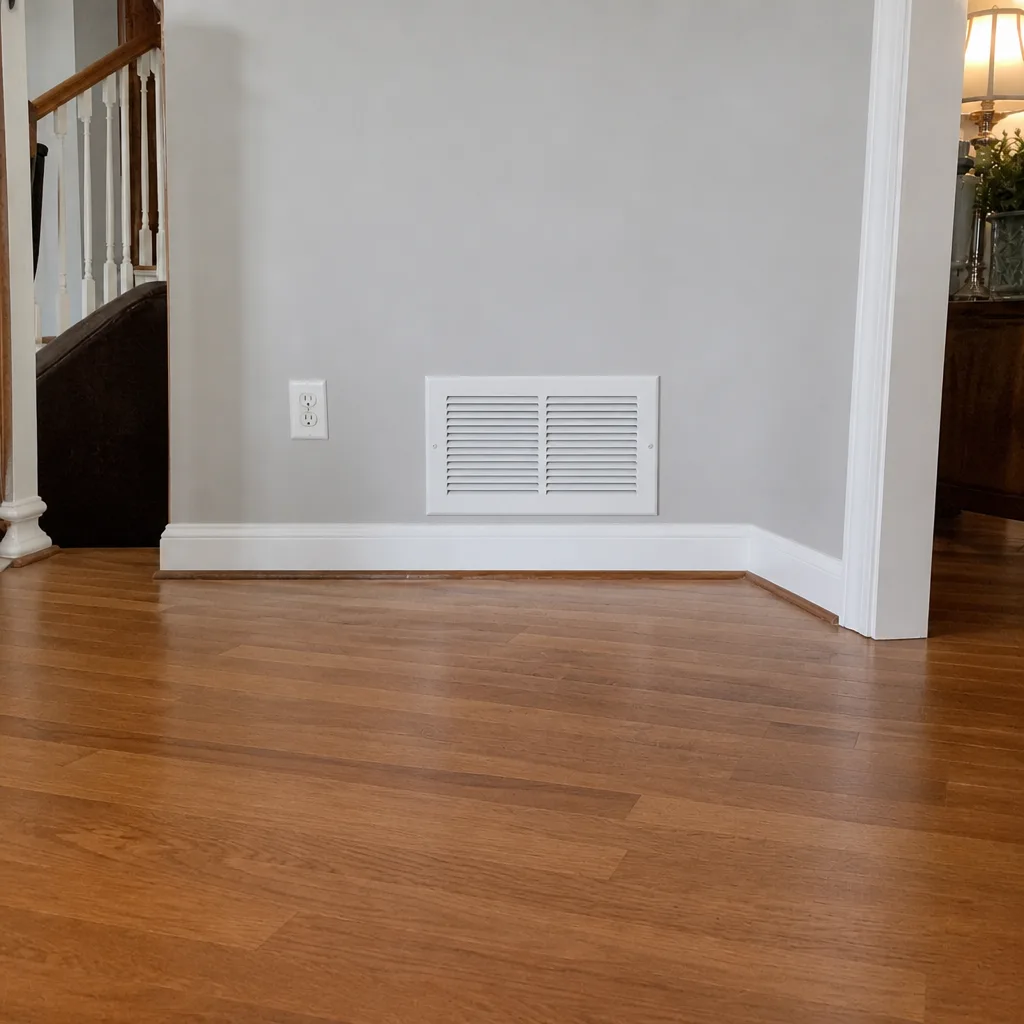 After
 Before
 After
When to Call a Professional
Call a professional when you’ve walked the registers and found a pattern that doesn’t fit cleaning, when odors return within a week, when you find moisture or visible growth anywhere in the air pathway, when airflow is uneven by room, or when a diagnostic hasn’t been run on the system since you moved in. Also call if you’re not comfortable opening the air handler cabinet, even just to look. Moisture and mold handling inside a cabinet isn’t a homeowner task, and the electrical components next to the coil make it a real safety concern. University City Air Duct Cleaning offers free estimates in University City. Call (888) 972-5826. We answer 24/7. Fast dispatch from 7am to 7pm, Sunday through Friday.
What makes a difference in the diagnostic is what the crew brings. We run professional-grade Rotobrush and Nikro duct cleaning systems and Abatement Technologies equipment on every job, and our technicians have up to 15 years of experience reading airflow systems, not just vacuuming them.
Frequently Asked Questions
If airflow is even and dust reappears everywhere, it’s likely a cleaning reach issue. If airflow is uneven, joints whistle, or odors return within days, it’s a duct integrity problem that cleaning can’t fix. The quick test is register-by-register airflow mapping and a visual check at the return plenum joints while the system runs. If you find a pattern, call us at (888) 972-5826 for a free diagnostic estimate.
Returning musty odors almost always point to a moisture source upstream of the ducts, typically the evaporator coil, condensate pan, or a duct run with damaged insulation. Cleaning the ducts doesn’t fix a wet coil or a pan that won’t drain. Our sanitizing and HVAC cleaning services address those upstream components directly. Call (888) 972-5826 for an estimate that covers the whole air pathway, not just the ducts.
Yes. Use a tissue or plastic bag strip at each supply and return register with the system running, and feel under interior doors for drafts. Uneven supply flow plus strong door drafts or weak returns is a solid indication of a balance or leak problem. Once you have the pattern, call (888) 972-5826 for an exact quote on repair and sealing, and the estimate is free.
Usually not. Dust returning within a week points to a leak, a filter bypass, or a disconnected joint feeding the system, not leftover debris from the first cleaning. Re-cleaning an unsealed system produces the same result. Call (888) 972-5826 and we’ll run a diagnostic first so you’re paying for the right fix. Estimates are free.
Cost varies by system size, accessibility, and whether repair or sealing is needed alongside the cleaning. We price per system, with one flat price per system agreed before any work starts, and we provide before-and-after photos of your own ducts so you can see what was actually done. Call (888) 972-5826 for a free written estimate.
Lower quotes typically cover less: fewer runs, no boots, no air handler, and often consumer-grade equipment that can’t reach past the register. A real cleaning reaches the boots, the plenum, and the air handler cabinet, and that’s before any repair work. If a quote seems dramatically off, ask what it covers. Call (888) 972-5826 for a written estimate that spells it out.
The Bottom Line
Most post-cleaning problems in University City aren’t cleaning failures. They’re pre-existing duct integrity faults, moisture sources, or airflow balance issues that a vacuum can’t solve no matter how many times it runs through the system. Diagnose before you clean again: walk the registers, check the air handler and return plenum, look for moisture, and test airflow with a tissue and a bag. Once you know which category your complaint falls into, the fix becomes clear. Clean it, seal it, improve it, and if the diagnostic turns up more than cleaning can solve, that’s exactly the call we’re built for. Your whole system, one call. Call (888) 972-5826 for a free estimate. We answer 24/7. Fast dispatch from 7am to 7pm, Sunday through Friday.
Written by the team at University City Air Duct Cleaning.